SUNDI TOOLS
- Copyright © Wuxi Sundi Precision Tools Co.,LTD All rights reserved.
- Site Map
A Gas Tank Cap may look like a small, ordinary part, but it helps protect the fuel system every time you drive. On many vehicles, the cap seals the filler opening and helps limit fuel vapor from escaping. Some newer vehicles use capless systems, so the exact setup depends on the model. Small part. Important job.
The cap also works with the vehicle’s fuel-vapor controls, which can monitor whether the system is sealed properly. If the cap is loose, damaged, or missing, the dashboard may show a warning light. A click when tightening can help confirm closure, but it does not prove the cap or seal is undamaged. That detail is easy to overlook.
Understanding how the Gas Tank Cap works can make routine checks less confusing. Look for cracks, a worn gasket, or dirt around the sealing surface, and follow the vehicle manual for fit and replacement guidance. Avoid forcing a cap that does not turn smoothly; the wrong part or a damaged thread may be the cause. Warning lights can have other causes, too, so replacing the cap is not a guaranteed fix. This guide explains the cap’s main parts, how it seals the tank, and what common symptoms may mean. Even a careful visual check has limits.
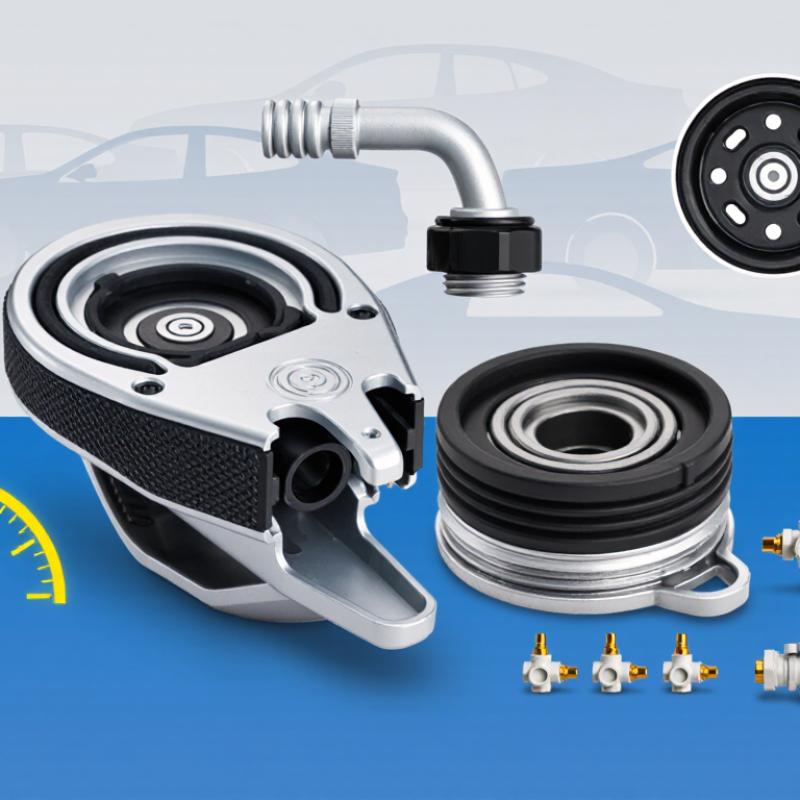
A gas tank cap closes the filler neck, the short tube leading from the fuel door to the tank. On most vehicles, it sits behind the small exterior fuel door and either twists into place or locks with a short turn. Some newer vehicles use a capless filler, so the opening has an internal sealing flap instead. The cap is small, but its fit matters: a worn seal or loose cap can let fuel vapor escape and may trigger a warning light.
The cap’s rubber seal presses against the filler neck to help contain vapor and keep dirt and water out. It is not the vehicle’s only vapor-control device. The U.S. Environmental Protection Agency reports that onboard refueling vapor recovery systems capture more than 98% of refueling vapors; that figure describes the vehicle system, not the cap alone. Fit and design vary, so the correct replacement should match the vehicle’s specifications. It is an easy detail to overlook.
Tips: Tighten a threaded cap until it clicks, if your vehicle’s manual specifies clicks. Check the seal for cracks, and keep the filler area clean. If a warning light remains on, have the fuel system checked rather than guessing at the cause.
On a conventional cap-equipped vehicle, the gas tank cap fits over the filler neck. Its seal helps limit fuel-vapor escape, while the filler neck connects to the fuel tank. The chart shows the components in order from the vehicle exterior inward.
The Main Components of a Gas Tank Cap
A gas tank cap is a small pressure-control part, not just a lid. Its outer shell lets you grip and turn it, while threaded or quarter-turn fittings secure it to the filler neck. A flexible gasket—often rubber—compresses against the neck to limit fuel-vapor escape. You can sometimes see a flattened or cracked edge on an old gasket. Small part. Big job.
Many caps also contain pressure- and vacuum-relief valves. These help manage pressure changes as fuel warms, cools, or leaves the tank, though valve design varies by vehicle. A tether prevents the cap from being misplaced; it does not create the seal. The U.S. EPA’s evaporative-system OBD requirements use a 0.040-inch equivalent leak threshold for applicable vehicle configurations, with requirements depending on model year and system design (40 CFR § 86.1806). That measurement shows how small a leak can matter to onboard monitoring. It does not mean every warning light points to the cap. A damaged gasket, loose fit, or fault elsewhere can produce similar symptoms. It must seal. The cap is easy to blame, and sometimes that guess is wrong.
| Component | What It Is | How It Works | Why It Matters |
|---|---|---|---|
| Outer shell | The rigid, hand-grippable body of the cap, commonly made from molded plastic or metal. | It lets the driver turn the cap onto or off the filler neck and protects the sealing parts inside. | A damaged shell can make the cap difficult to handle or prevent it from tightening correctly. |
| Threaded connection or locking tabs | The features that engage with the matching filler-neck design. | Turning the cap engages the threads or tabs and draws the sealing surface against the filler neck. | Correct engagement helps keep the cap secure and the fuel system properly closed. |
| Sealing gasket | A flexible ring, often made from fuel-resistant elastomer, fitted where the cap meets the filler neck. | When the cap is tightened, the gasket compresses to form a seal. | It helps limit fuel-vapor escape and prevents dirt and moisture from entering the filler opening. |
| Ratchet or torque-limiting mechanism | A mechanism included in many screw-on caps that produces clicks when the cap reaches its intended tightness. | After the cap is seated, continued turning makes the mechanism slip or click rather than tightening indefinitely. | It helps reduce under-tightening and excessive tightening; the number of clicks can vary by cap design. |
| Pressure and vacuum relief features | Valves or passages found in some cap designs, depending on the vehicle’s fuel-system configuration. | Where fitted, they help manage pressure differences within specified limits. Many modern vehicles manage tank pressure through the evaporative-emissions system instead. | Their design is vehicle-specific; a replacement cap should match the vehicle’s required specifications. |
| Tether or retaining strap | A flexible strap connecting the cap to the vehicle or filler-door area on some vehicles. | It keeps the removed cap attached while the vehicle is being refueled. | It helps prevent the cap from being misplaced or left behind at a fuel pump. |
| Fuel-system and emissions interface | The connection between the cap seal, filler neck, and the vehicle’s evaporative-emissions system. | When the cap is properly installed, it helps the closed fuel system retain vapors so they can be managed by the vehicle’s emissions-control system. | A loose, missing, or damaged cap can contribute to an evaporative-system leak and may trigger a warning light on vehicles that monitor the system. |
A gas tank cap closes the opening where fuel enters the tank. Its seal helps keep fuel vapor inside and rainwater, dust, and road grit outside. Most caps use threads or a locking fit to stay in place. As the cap tightens, a rubber or composite gasket presses against the filler neck’s rim. That contact forms the barrier. The cap is not just a lid; on some vehicles, it also works with valves that help manage pressure and vacuum in the fuel system. Designs vary, so one cap may not fit every vehicle.
Tips: Check the gasket for cracks, flattening, or dirt. Wipe the filler neck’s rim with a clean cloth. Tighten the cap until it is secure, without forcing it. A damaged seal can be easy to miss. It is small, but it does important work.
If the cap will not sit evenly, or a fuel smell persists after refueling, avoid guessing at the cause. The cap may be worn, but the filler neck or another part of the system could also need attention. A visual check is useful, though it cannot confirm every fault. Use the vehicle’s manual for cap-specific guidance, and have persistent concerns inspected by a qualified technician.
A gas tank cap does more than cover the filler neck. Its gasket seals the opening, while spring-loaded valves respond to pressure changes inside the tank. When fuel warms and vapor pressure rises, the pressure valve can release excess pressure into the vehicle’s evaporative-emissions system. In many modern vehicles, vapor is routed to a charcoal canister rather than escaping directly into the air. The cap is a small part of a larger sealed system.
The vacuum valve works in the opposite direction. As fuel is used, or the tank cools, pressure inside can fall; the valve admits air when needed to prevent excessive vacuum and help protect the tank. The exact opening pressures vary by vehicle, so a replacement cap must match the vehicle’s specification.
A loose seal, cracked gasket, or sticking valve can trigger a warning light or affect drivability. Small parts. Significant effects.
The U.S. EPA’s Tier 3 Motor Vehicle Emission and Fuel Standards set evaporative-emission limits as low as 0.3 grams per test for certain light-duty vehicle classes. That figure shows why sealing details matter, though a cap alone does not control emissions.
It is easy to assume every cap behaves alike; that assumption deserves a second look.
A gas tank cap seals the filler neck, helping limit fuel vapor escape and keeping dust and water out. It also works with the vehicle’s pressure-control system. A sound seal matters. A cap can look fine while its rubber gasket is flattened or cracked.
The common threaded cap turns onto the filler neck. Many have a ratcheting feature that clicks when snug, reducing the chance of overtightening. Tethered caps use the same basic seal but remain attached, so they are less likely to be misplaced. Locking caps add a key-operated mechanism, but still need a compatible sealing surface. Some older systems use vented caps. Many modern vehicles use sealed caps and manage pressure elsewhere. Capless filler systems remove the separate cap and use an internal flap instead. That flap still needs to stay clean.
These designs are not interchangeable. Check the vehicle manual or specified fit before replacing a cap; appearance alone is a poor guide. After tightening a threaded cap, stop at the first clear ratchet clicks rather than forcing it. If the cap feels loose, the gasket looks brittle, or a warning light stays on, inspect the seal and filler neck. It’s easy to focus on the cap and overlook the neck.