Essential Tips for Choosing the Right Drywall Sanding Sponge?
Choosing the right Drywall Sanding Sponge is crucial for achieving a smooth finish. This seemingly simple task can significantly impact your drywall project. An incorrect choice can lead to undesirable results and wasted effort.
When selecting a drywall sanding sponge, consider the grit size. A finer grit is ideal for delicate finishes, while coarser options work better on rough surfaces. Also, evaluate the sponge's flexibility. A more flexible sponge can reach into corners and curves effectively.
Experience is key. Many DIY enthusiasts overlook the importance of quality materials. Investing in the right drywall sanding sponge may seem minor but can enhance your project’s overall appearance. Reflect on previous projects where poor choices led to dissatisfaction. A little extra research can go a long way in achieving professional results.
Understanding Different Types of Drywall Sanding Sponges
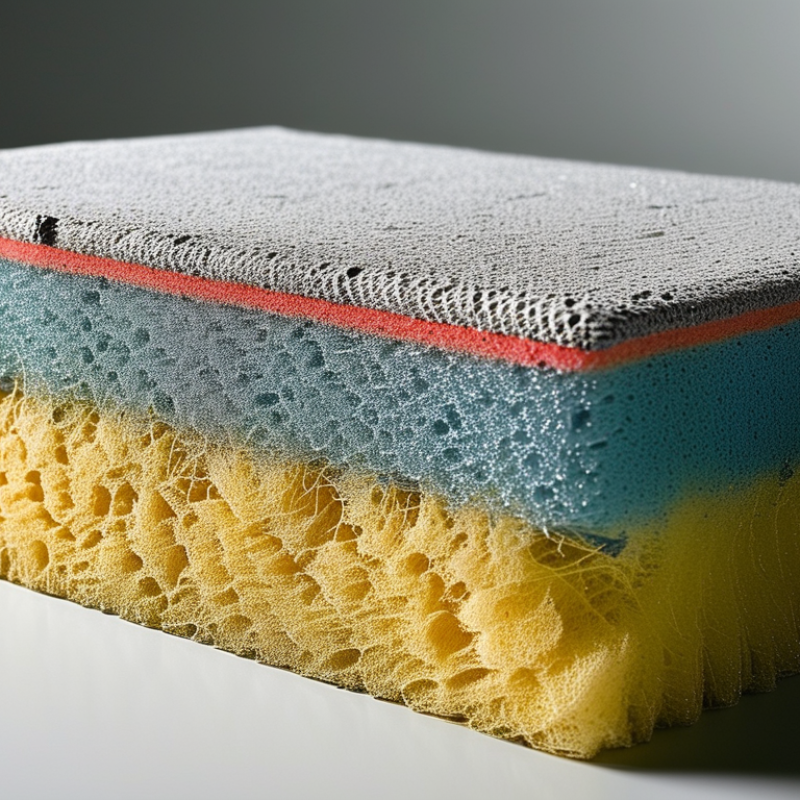
When selecting a drywall sanding sponge, understanding the different types available is crucial. Various sponges are designed for different tasks, affecting both efficiency and finish quality. Two primary types are open-cell and closed-cell sponges. Open-cell sponges are softer, allowing for smoother sanding curves and contours. However, they tend to wear out faster compared to their closed-cell counterparts, which are firmer and ideal for flat surfaces. According to a 2022 report from the National Association of Home Builders, professionals often report a 30% increase in efficiency when using the appropriate sponge type for the job.
Drywall sanding sponges come in various grit levels. The grit indicates how coarse or fine the sponge is. Coarser grits are better for removing paint or smoothing rough surfaces, while finer grits are perfect for finishing touches. It’s also important to keep in mind that using a gritty sponge can lead to scratching. According to industry standards, a finer grit sponge can result in a 20% smoother finish than a coarser alternative. Thus, choosing the right grit is not just about the task; it impacts the final outcome significantly.
Several professionals recommend testing multiple types before committing to a specific sponge. The right choice depends on project requirements and personal preference. It can be insightful to reflect on previous projects. Have you experienced issues with the sponge type used? Over time, materials and techniques evolve, so it's essential to stay informed about the best practices in drywall finishing. This practical experience can guide your choice in selecting the most suitable sanding sponge for your needs.
Factors to Consider When Choosing a Drywall Sanding Sponge
When selecting a drywall sanding sponge, consider several factors to ensure optimal results. The grit size is crucial. Finer grits smooth out surfaces, while coarser types remove material quickly. Look for sponges that can tackle different jobs. An all-in-one sponge might save time, but having multiple options can yield better finishes.
Pay attention to the sponge's durability. Materials vary, and some might wear out quickly. If you plan to work on multiple projects, investing in a lasting sponge is wise. Also, consider the shape and flexibility. A sponge that fits comfortably in your hand will make your work easier and more efficient.
Tips: Choose a sponge size that matches your project area. Smaller sponges work well for detailed spots. Experiment with different grits to find your preferred finish. Sometimes, using a finer grit after a coarse can create a more polished look. Remember, each project is unique. Taking the time to choose the right sponge can make all the difference in your drywall finishing.
How Grit Differences Affect Drywall Sanding Performance
When selecting a drywall sanding sponge, grit differences play a crucial role in performance. Grit, measured by the number of abrasive particles per square inch, directly influences how effectively the sponge can smooth out surfaces. Coarse grits, typically 60 to 80, are ideal for heavy material removal and initial sanding. In contrast, finer grits, such as 180 to 220, help achieve a smooth finish, especially for sanding before painting.
An industry report indicates that using the appropriate grit can reduce the sanding time by up to 30%. Choosing the wrong grit may lead to excessive scratches or an uneven surface. For instance, using a coarse grit on a finished wall can cause more harm than good. A fine sponge takes longer, but it creates a professional finish.
When selecting a sponge, consider the project type. If you're working on drywall joints, a medium grit, around 120, may be best for balance. Test different grits on scrap pieces when possible. A simple trial can save you from a poor outcome. Always follow the manufacturer's recommendations for best results, but don't hesitate to adjust based on your experience. Remember, each project is unique.
Tips for Maintaining and Cleaning Your Drywall Sanding Sponge
Maintaining and cleaning your drywall sanding sponge is crucial for achieving a smooth finish. A well-maintained sponge can last up to 50% longer than one that is neglected. Regular cleaning prevents the buildup of debris, ensuring optimal performance.
After use, rinse the sponge under warm water. This can remove dust particles and joint compound, restoring its usability. Squeeze out excess water gently. Avoid twisting or wringing, as this can damage the sponge's structure. According to industry standards, a clean sanding sponge promotes even sanding, reducing the risk of imperfections on your walls.
For effective care, use a mild detergent if the sponge is heavily soiled. Soaking it for a few minutes can help loosen stubborn residue. Dry it flat to maintain its shape. Many professionals recommend keeping two sponges in rotation. This way, one can dry completely while you use the other. Regular maintenance not only prolongs the lifespan of the sponge but also enhances your project’s quality.
Essential Tips for Choosing the Right Drywall Sanding Sponge
| Tip | Description | Maintenance | Cleaning Method |
| Choose the Right Grit | Select a grit based on the surface condition. | Inspect for wear and replace if needed. | Rinse in warm water until clean. |
| Use the Right Size | Choose a sponge that fits your hand comfortably. | Store flat to maintain shape. | Soak in soapy water and scrub lightly. |
| Consider Material | Opt for sponges with durable and flexible materials. | Check for any tears or damages. | Rinse thoroughly and air dry. |
| Check for Dust Retention | Select sponges designed to hold dust effectively. | Regularly inspect dust accumulation. | Tap or shake to remove excess dust. |
| Buy in Bulk | Consider purchasing multiple sponges for larger jobs. | Store unused sponges safely. | Keep clean and dry until needed. |
Common Mistakes to Avoid When Using Drywall Sanding Sponges
When using drywall sanding sponges, common mistakes can lead to unsatisfactory finishes. One frequent error is applying too much pressure while sanding. Excessive force can create uneven surfaces. It can also damage the drywall. A study by the National Association of Home Builders indicates that nearly 30% of sanding issues stem from improper technique.
Another mistake is neglecting the grit choice. Many users select sponges with inappropriate grit for their job. Fine grit is often necessary for final touches. Coarse grits may leave scratches on delicate surfaces. According to a report by the U.S. Institute of Building Technology, choosing the right grit can reduce sanding time by up to 40%.
Not maintaining your sanding sponge is also crucial. Dirty or worn sponges provide inconsistent results. Users often overlook cleaning the sponge during use. A well-maintained sponge can last longer and yield better results. In fact, professionals recommend regular inspection of tools to ensure quality work. Avoiding these mistakes can enhance your sanding experience and lead to smoother finishes.
Comparison of Drywall Sanding Sponge Types
 Skip to content


 English
 Russian
  German
  Spanish
  French
  Portuguese